When connecting to NFS shared folder the windows credentials needs to be mapped to a equivalent unix account+ group.
In Windows Server 2008 R2 the support for User Mapping is dropped and the same functionality can only be achived using Identity Management for Unix Components (extension schema for Active Directory).
Below describes on how you can connect to a NFS folder without using User Mapping Server.
A. Install NFS Client
Step 1. Enable File Services Role. Go to Server Management – > Add Roles -> File Services
Step 2. Install Services for Network File System. Go to File Services – > Add Role Services
B. Update NFS Client Registry
In this step, we are going to map the anonymous user credential to the unix account credential that you’ll be using to connect to NFS share. First you need to get the User Id and Group Id of the unix account from the unix administrator. It should be of decimal value like: UserId= 6500000 GroupId=4200. Once you have it, we can proceed.
1. Open Regedit.
2. Go to \HKEY_LOCAL_MACHINE\SOFTWARE\Microsoft\ClientForNFS\CurrentVersion\Default.
3. Create 2 DWORD value, one for AnonymousUid with decimal value=<User Id> and another for AnonymousGid with decimal value=<GroupId>.
It should look like this:
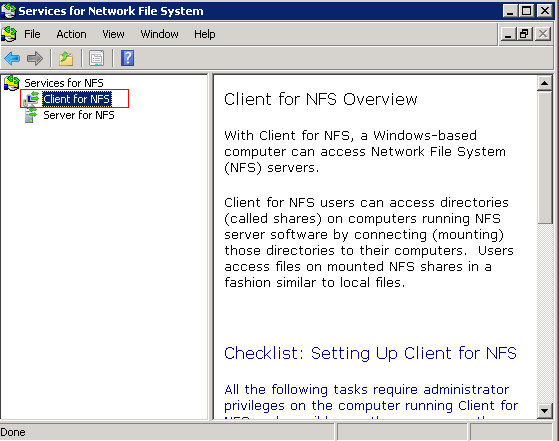
4. Restart the NFS Client. Go to Administrative Tools -> Services for Network File System (NFS) ->
C. Test NFS Connection
1. Open command prompt.
2. Type: mount -u:
3. dir
Copy file to this NFS folder. This is only way to confirm that the registry hacking is successfully. Because by default if the anonymous access is turned on in NFS side, you can see the files without having to supply user/password.
Note: Limitation is that, you can only connect to a single NFS share because it would use the same UserId and Group Id everytime you connect.


